Published on 07/04/2023
Published by Pratik Takle
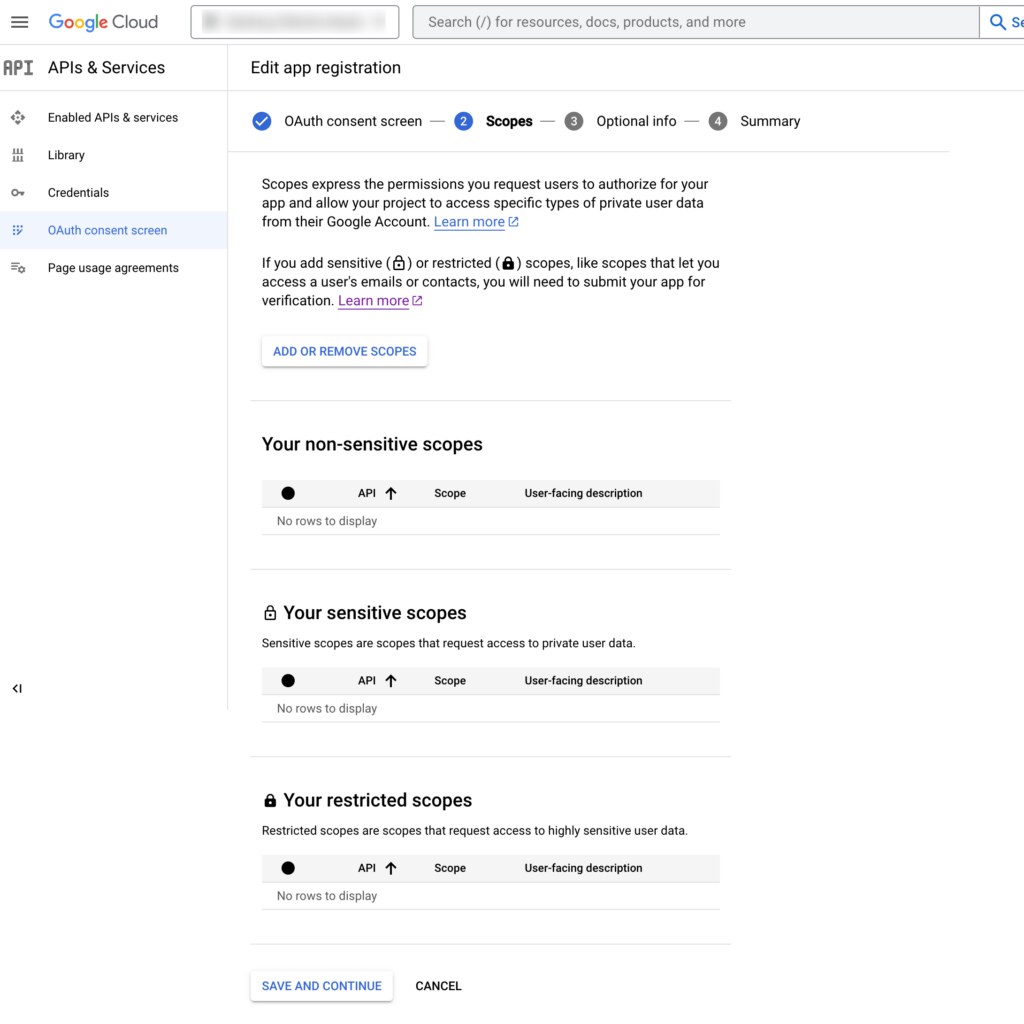
Configure the OAuth consent screen in Google Cloud Console
Here’s a step-by-step guide with bullet points on how to configure the OAuth consent screen in Google Cloud Console:
- Sign in to the Google Cloud Console using your Google account credentials.
- Select the desired project from the project dropdown menu at the top of the page. If you don’t have a project yet, create a new one.
- From the left-hand menu, click on “APIs & Services” and then select “OAuth consent screen”.

- On the OAuth consent screen page, select the user type for your app (Internal, External, or Test).
- Click on the “Create” button to start configuring the consent screen.
- Choose the user type and click on the “Continue” button.
- Enter the name of your application in the “Application name” field. This will be displayed to users during the authorization process.
- Optionally, you can upload a logo for your application by clicking on the “Add or change logo” button.
- Enter the authorized domains for your application. These are the domains that your app is allowed to request data from.
- Specify the scopes that your app requires for accessing user data. Click on the “+ ADD SCOPE” button to add the necessary scopes.
- Provide a link to your privacy policy. This is required for applications that request sensitive user data.
- Enter the links to your terms of service and support pages if applicable.
- Review the remaining settings on the OAuth consent screen page, such as email address, developer contact information, etc., and make any necessary updates.
- Once you have reviewed and filled in all the required information, click on the “Save and Continue” button.
- Review the summary of your consent screen configuration and ensure that all the details are accurate.
- Click on the “Back to Dashboard” button to return to the OAuth consent screen dashboard.
- You can now proceed to test your consent screen by clicking on the “Test Consent Screen” button and following the prompts.
- Once you are satisfied with the configuration and testing, click on the “Publish App” button to make your consent screen publicly available.